Thinking of installing a new gate? Whether you’re securing a residential driveway or enhancing access to a commercial facility, gate installation is more than just digging a few holes and bolting on a structure. It’s about choosing the right type—automatic, chain link, or custom gates—and knowing exactly what the process involves.
In this guide, we’ll break down the step-by-step gate installation process so you know what to expect and how to prepare.
Step-by-Step Guide for Automatic & Custom Gates Installation
Step 1: Initial Site Evaluation and Planning
The process begins with a site assessment. A qualified gate installer comes to your home to assess the area and talk about your requirements.
What’s Included in the Evaluation:
- Measuring the Entry Point: Accurate width and height are key to selecting or customizing the gate.
- Ground Conditions: Slopes, soil type, and obstructions are examined to decide on swing vs. sliding gates.
- Power Source Availability: Especially crucial for automatic gates—electricity must be accessible or installed.
- Design Considerations: Material, color, finish, and style preferences are discussed.
- Permit Checks: Some installations require local permits or HOA approval. Professionals handle this for you.
This phase is crucial. A well-assessed site leads to a smoother and more efficient installation.
Step 2: Selecting the Right Type of Gate
Choosing a gate isn’t one-size-fits-all. Your property needs, budget, and personal taste influence the decision.
1. Chain Link Fence with Automatic Gate Opener
Ideal for residential and commercial properties, this option offers affordability and durability.
Advantages:
- Low maintenance
- Strong and secure
- Can be automated for ease of access
Best For: Driveways, commercial yards, and utility entrances.
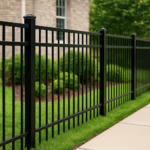
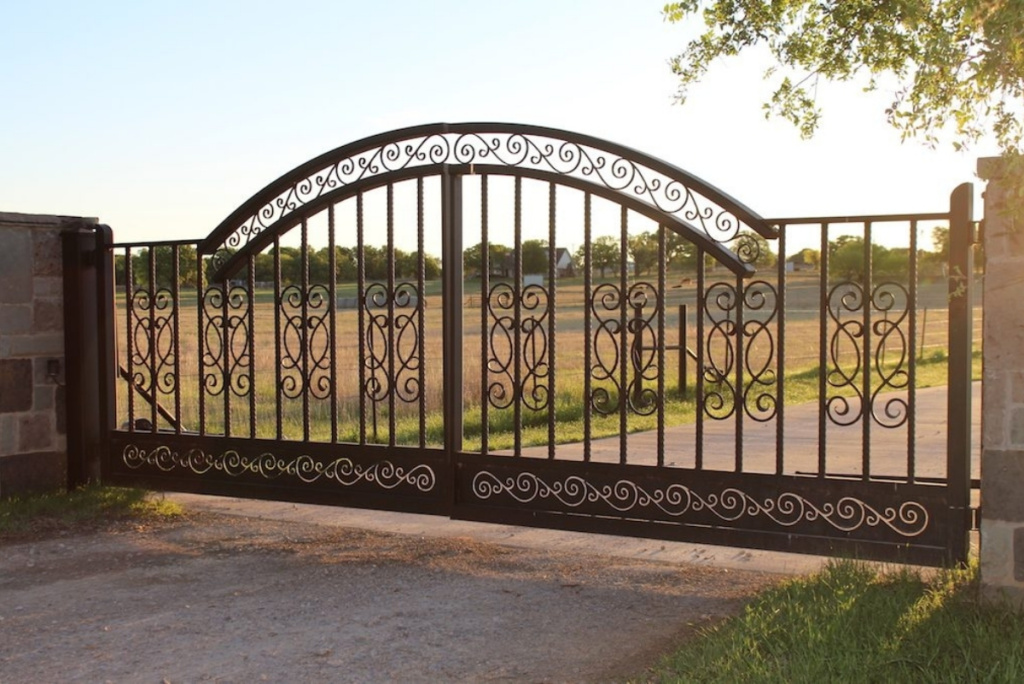
2. Custom Gates
Custom gates offer complete design flexibility and add unique character to your property.
Material Options:
- Wrought Iron: Strong and elegant
- Wood: Warm and classic
- Aluminum or Steel: Sleek, modern, and rust-resistant
Design Features:
- Personalized patterns or logos
- Arched or straight tops
- Integrated lighting
Best For: High-end residential properties, estates, or homeowners who want something that stands out.
3. Automatic Gates
Automatic gates are designed for convenience and safety. They can be opened or closed with a button or a phone app.
Types of Automatic Systems:
- Remote-controlled
- Keypad or card entry
- Sensor-based (vehicles or motion)
- App-controlled smart gates
Best For: Anyone looking to enhance security and enjoy touchless access.
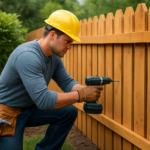
Step 3: Site Preparation
Before the gate installation, the area must be prepared.
This stage includes:
- Clearing Obstacles: Bushes, fences, or debris are removed from the site.
- Ground Leveling: Ensures proper gate alignment and smooth operation.
- Digging Post Holes: Holes are dug to install posts or pillars that hold the gate.
- Laying Electrical Work: Underground wiring or solar systems are installed for automatic gates.
Preparation may take a day or two, depending on site conditions and whether electrical work is needed.
Step 4: Installing the Gate
Now comes the core of the process—putting the gate in place.
Manual Gate Installation:
- Posts are set in concrete to anchor the gate.
- Hinges or sliding tracks are mounted.
- The gate is fixed and tested for balance and stability.
- Locks and latches are added.
Automatic Gate Installation:
- Motors are mounted on swing arms or sliding tracks.
- Control units are connected to power supplies.
- Access devices (keypads, remotes, sensors) are programmed.
- The entire system is tested multiple times for responsiveness and safety.
Depending on how complicated the gate, this step could take one to three days.
Step 5: Final Adjustments and Customization
After installation, the installer fine-tunes the system and adds the finishing touches.
These may include:
- Painting or Sealing for protection and aesthetics
- Adjusting Hinges or Tracks for smooth movement
- Lubricating Moving Parts to prevent rust or noise
- Setting up Access Systems and guiding you through their use
A good installer ensures the gate operates smoothly and safely and meets your expectations before signing off.
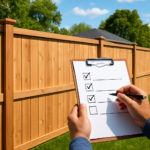
Step 6: Post-Installation Maintenance Tips
Proper care can extend the life of your gate and prevent costly repairs.
Maintenance Checklist:
- Monthly Checks: Test the opening and closing mechanisms.
- Lubrication: Hinges, rollers, and chains should be lubricated every few months.
- Electrical Components: Inspect sensors, remotes, and wiring annually.
- Weather Protection: Wooden gates may need resealing; metal ones might need anti-rust coatings.
Automatic systems may require a professional tune-up every 12–18 months.
Why Go for Professional Installation?
Installing a gate might seem like a manageable DIY project, but the margin for error is slim when dealing with heavy materials, automation systems, or uneven terrain. That’s where professional gate installers make all the difference.
Here’s what you get with expert installation:
- Perfect Alignment: Professionals ensure your gate opens and closes smoothly without sagging or jamming.
- Code Compliance: They understand local regulations, permit requirements, and safety codes, saving legal headaches.
- Proper Tools & Methods: From welding to wiring, trained technicians use the right tools to get the job done right the first time.
- Warranty & Support: You can have peace of mind knowing that service guarantees and future support are available for your installation.
Attempting to install it yourself can lead to costly mistakes, such as misaligned posts, unreliable automation, or electrical hazards. Don’t risk your time, money, or safety. Trust the experts at Vilo Fence to deliver a gate built to last and designed to impress.
Conclusion
In conclusion, the gate installation process might seem complicated, but it’s easy to follow when you break it down step by step. Whether you opt for a chain link fence automatic gate opener, a high-end custom gate, or something in between, the right team can turn your entrance into a secure, stylish, and automated access point. If you want to install a new gate or upgrade your current one, contact Vilo Fence for a customized quote and expert consultation today!
FAQs
Q1: What’s the difference between a sliding and swing gate?
Ans. In contrast to swing gates, which open inward or outward like doors, sliding gates go sideways down a track. For tight spaces, sliding gates are better.
Q2: How long do automatic gate systems last?
Ans. The motor and electronics will last for ten to fifteen years or more if they are properly maintained.
Q3: Can I install an automatic opener on an existing manual gate?
Ans. Yes, many manual gates can be retrofitted with motors, but they must be structurally sound and compatible with automation hardware.